Do you want to add an order bump to WooCommerce and increase your sales?
An order bump is a tactic that encourages shoppers to buy more products than they initially planned. It’s an easy and popular strategy to boost sales by offering a relevant product or a special deal during checkout.
In this guide, we will show you how to create an order bump in your WooCommerce store. This way, you can get more profits without putting in a lot of extra effort.
Why Should You Add an Order Bump in WooCommerce?
In eCommerce, an order or checkout bump is a common strategy that can increase the average order value (AOV). It encourages customers to spend more money when making a purchase by offering them extra products or deals during checkout.
If you run an online store, then an order bump can easily boost your sales and revenue without much effort.
Instead of launching an elaborate marketing campaign, all you need to do is showcase related products that the customer may be interested in. By doing this, you make it convenient for buyers to add more items with just a single click.
Typically, eCommerce plugins or software don’t offer an order bump feature by default. For example, if you are using WooCommerce, then you will need a WordPress plugin to enable checkout bumps.
Now, let’s take a look at how to create an order bump for WooCommerce.
How to Create an Order Bump in WooCommerce
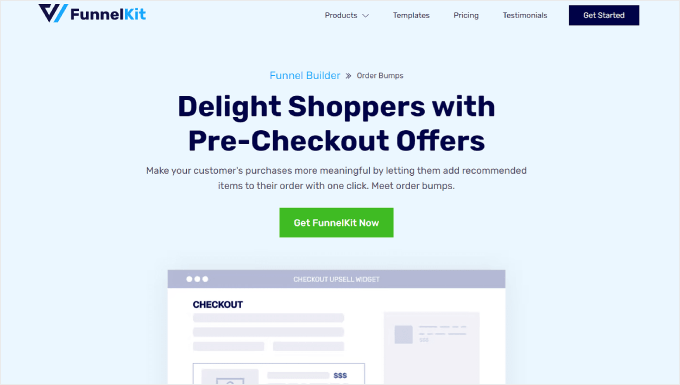
The best way to create an order bump in WooCommerce is with FunnelKit Builder, which is an advanced WooCommerce sales funnel platform. It lets you easily optimize your store pages to get more conversions and revenue.
Plus, FunnelKit comes with templates to boost your online store sales, cart abandonment funnels to recover lost potential revenue, and dashboard analytics to see your store’s performance.
This guide will use the FunnelKit Builder Pro Plus plan, as the order bump feature is available in that version and higher.
Once you have access to the plugin zip file and license key, you can install the plugin. For more information, check out our guide on how to install a WordPress plugin.
Then, you need to activate the license key. To do this, simply go to FunnelKit » Settings from your WordPress dashboard, navigate to the ‘General’ tab, and select ‘License.’
Copy and paste the license key into the ‘FunnelKit Funnel Builder Pro’ field and select the default page builder you are using. After that, just click ‘Activate’ and then ‘Save Changes.’
…

