



There are occasions where adjusting the menu in WordPress may be necessary. Perhaps you’re looking to install a comprehensive mega menu showcasing all your site’s pages, or maybe you aim to personalize the menu colors to align with your brand’s aesthetic. Such modifications can seem challenging without expertise in coding.
Luckily, WordPress offers multiple methods for menu customization. Novices can utilize the platform’s native dashboard features or opt for an intuitive plugin. For the more tech-savvy, custom CSS 🎨 provides a route to refine the default WordPress menu to their liking.
🖱️ This discussion delves into the reasons behind modifying your WordPress menu. Furthermore, we’ll guide you through three approaches to achieve this. Let’s embark on this journey!
A WordPress menu structures your content, aiding visitors in their quest to navigate your site. Yet, the basic WordPress menu setup might suffice for some, there’s room to customize it and infuse distinctiveness.
Addition of elements like images, or simple tweaks in colors and fonts, can help align your menu with the site design. Enhancing the menu with your most pertinent pages, posts, and products, or incorporating interactive parts like social media links or contact information, can significantly augment user experience.
Moreover, crafting dropdowns or mega menus becomes a practical solution when dealing with an expansive content inventory, helping to manage screen real estate more effectively. Lastly, manipulating the menu’s location (as stipulated by your theme), which typically appears in the header, allows the exploration of secondary, footer, or mobile menu configurations.
Editing your WordPress menu in 3 ways
Now that the potential benefits of menu modification in WordPress have been highlighted, let’s inspect the most advantageous methods available.
- Modify your menu via the built-in features
- Alter your menu using a plugin
- Implement CSS to adjust your menu on WordPress
The most straightforward method for menu alteration in WordPress is via the built-in features. Navigate to Appearance > Menus within your WordPress admin area.
Choose an existing menu from the dropdown or establish a new custom menu through the provided link:
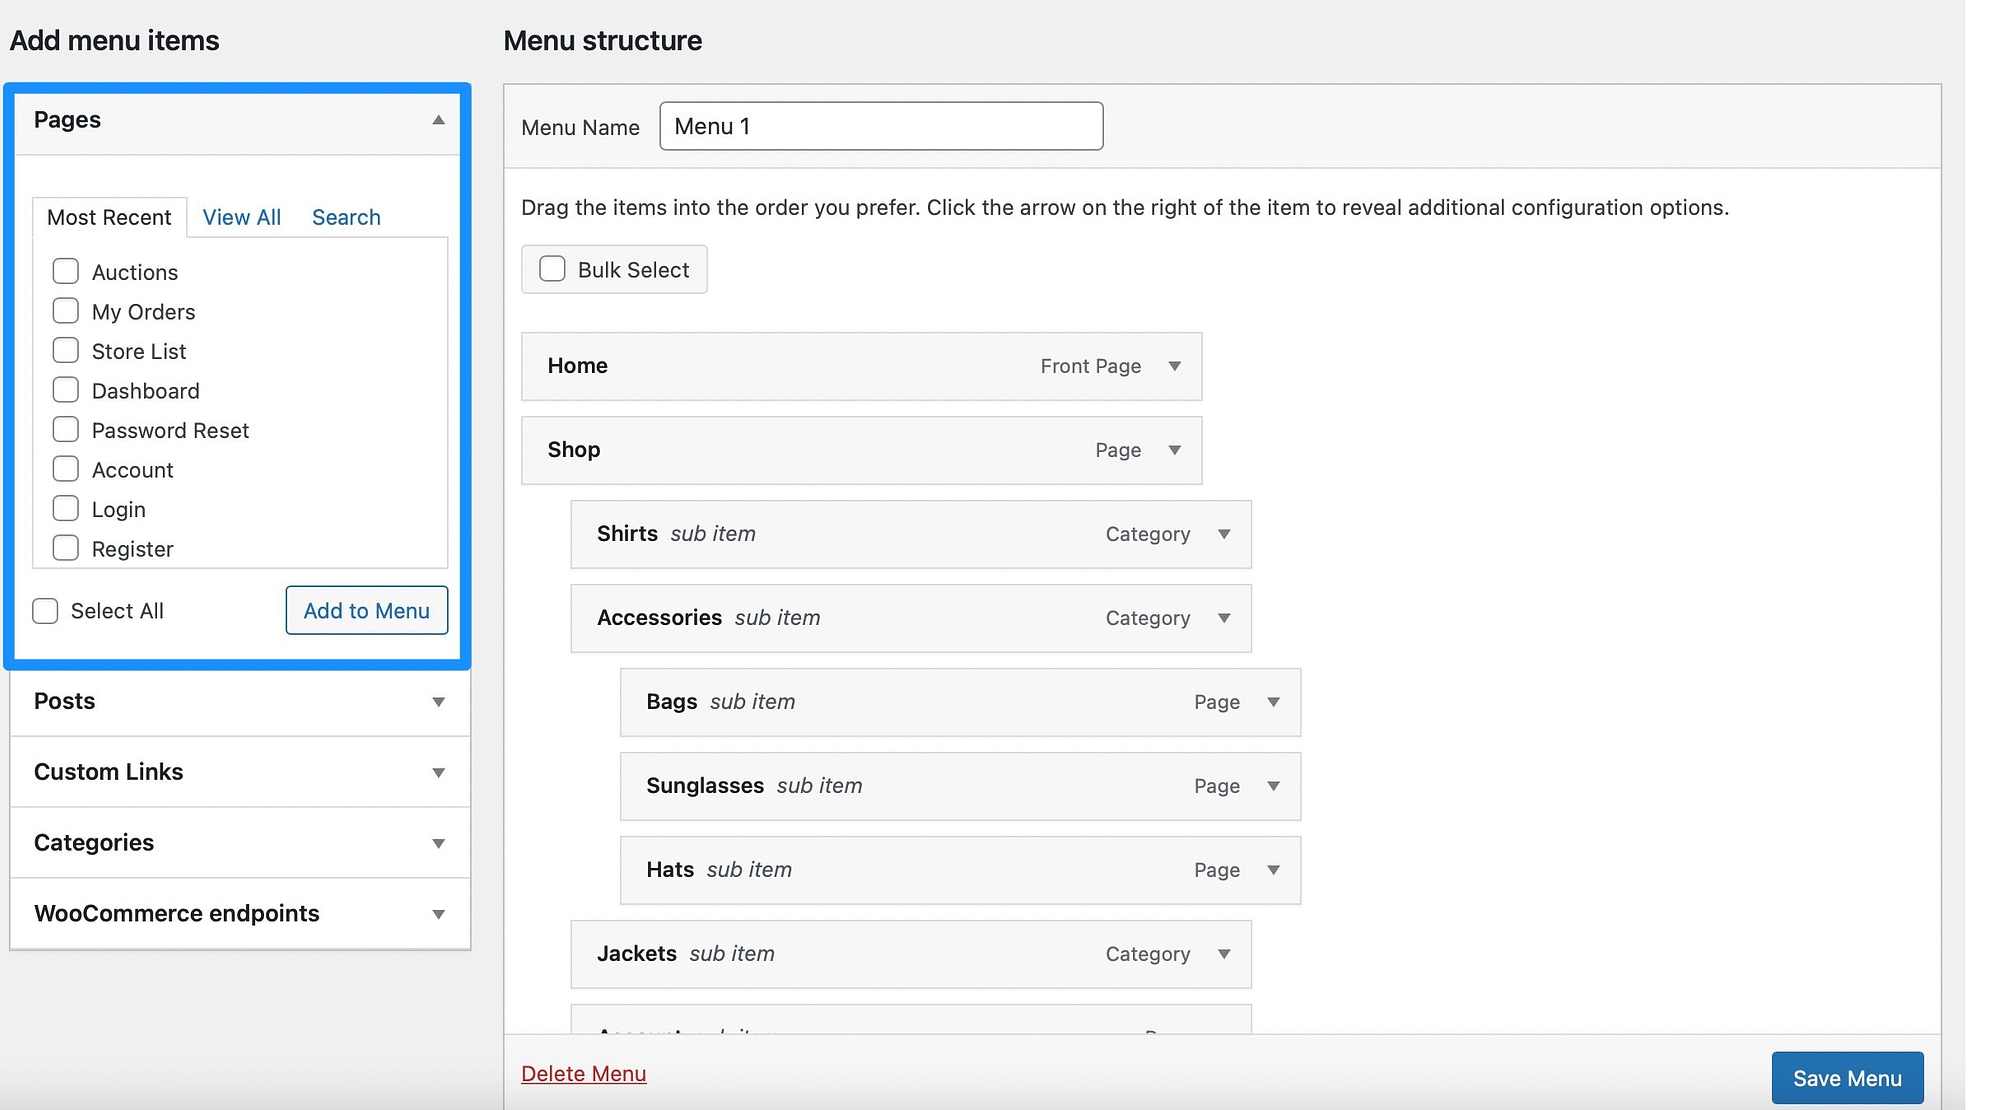
In the Add menu items segment, you can introduce essential pages and posts into your navigation bar by marking the appropriate boxes. Subsequently, click on Add to Menu:
At this stage, repositioning your menu entries is as simple as dragging and dropping them into place.
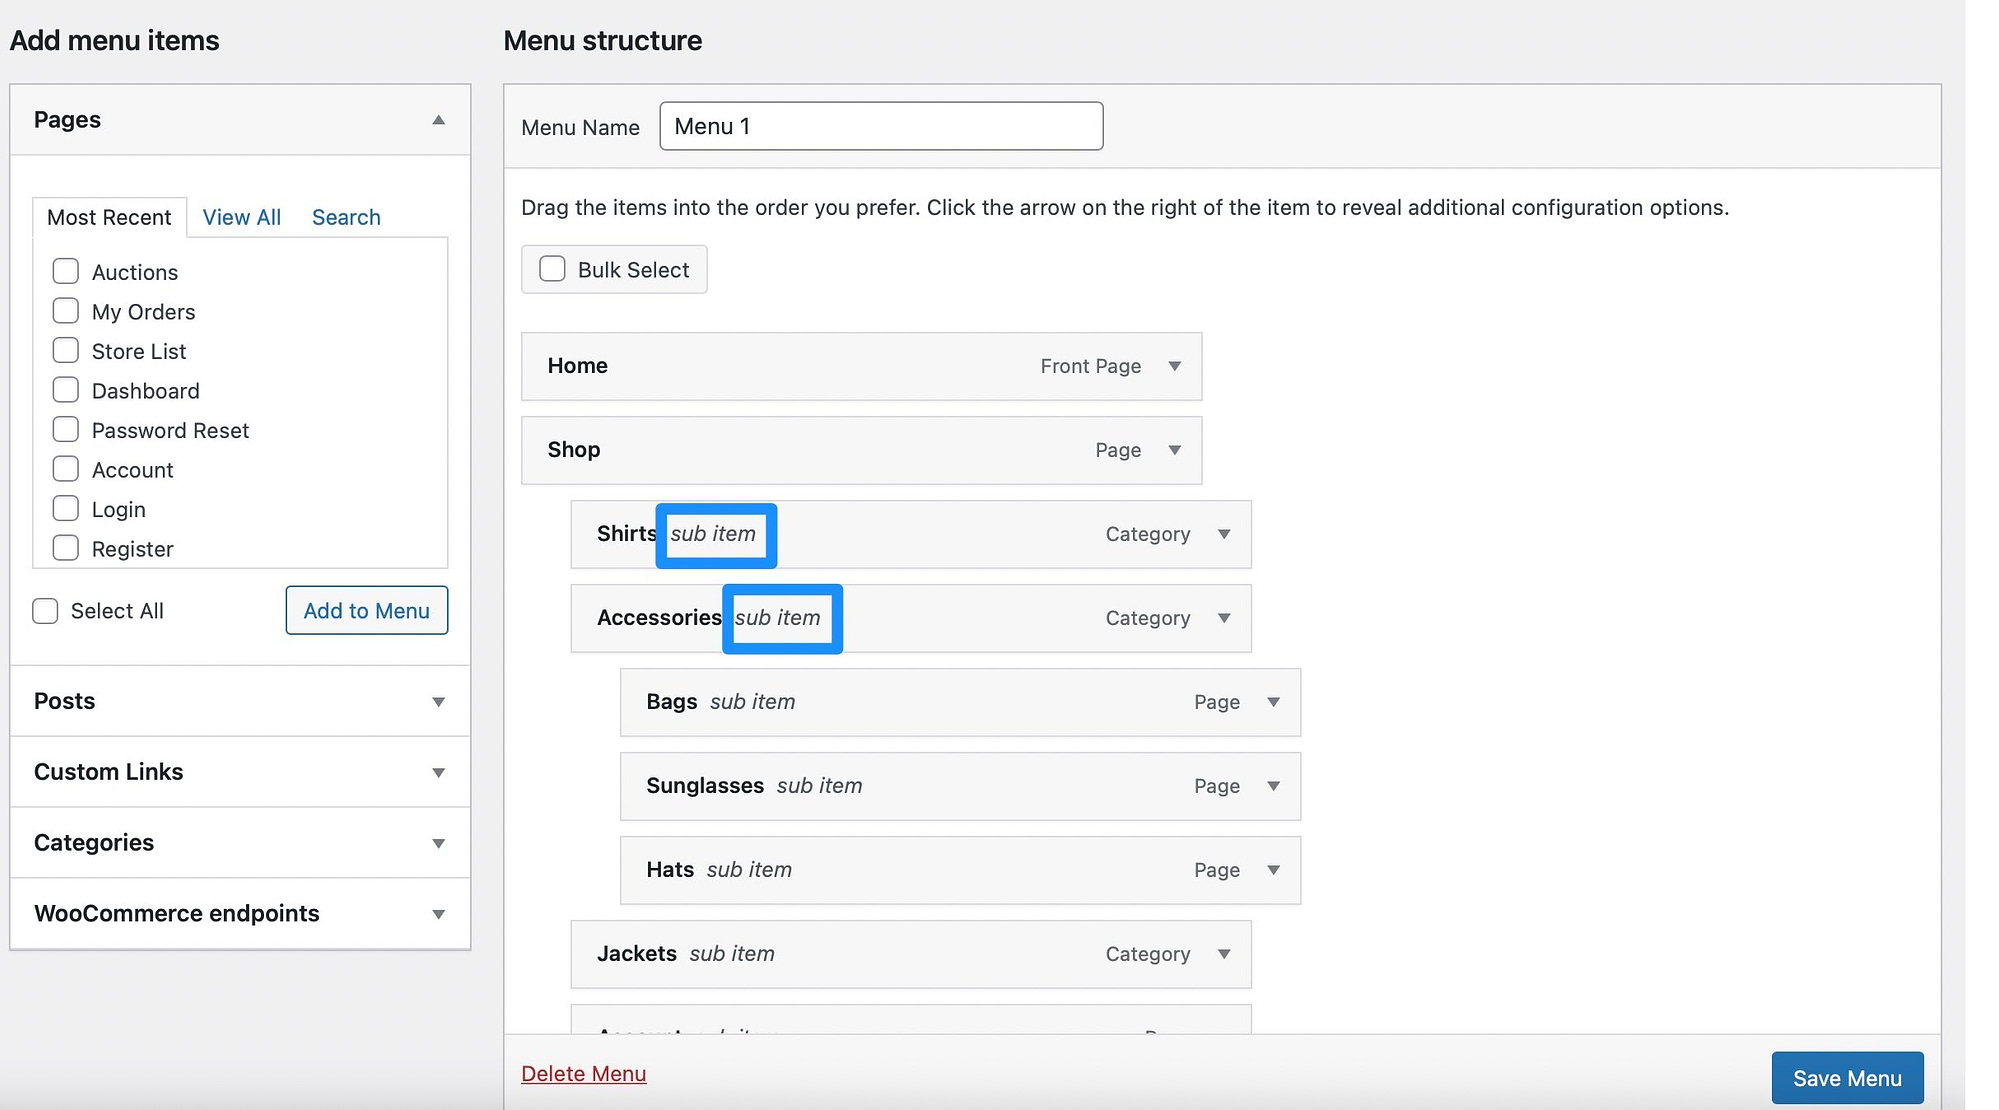
To establish a dropdown sub-menu, drag the intended menu item slightly to the right. Once positioned, the label “sub menu” will display alongside the moved item:
Catapult your menu’s capability by adding WordPress categories or custom links. If your site is powered by WooCommerce, it’s also possible to introduce endpoints such as account details or order histories.
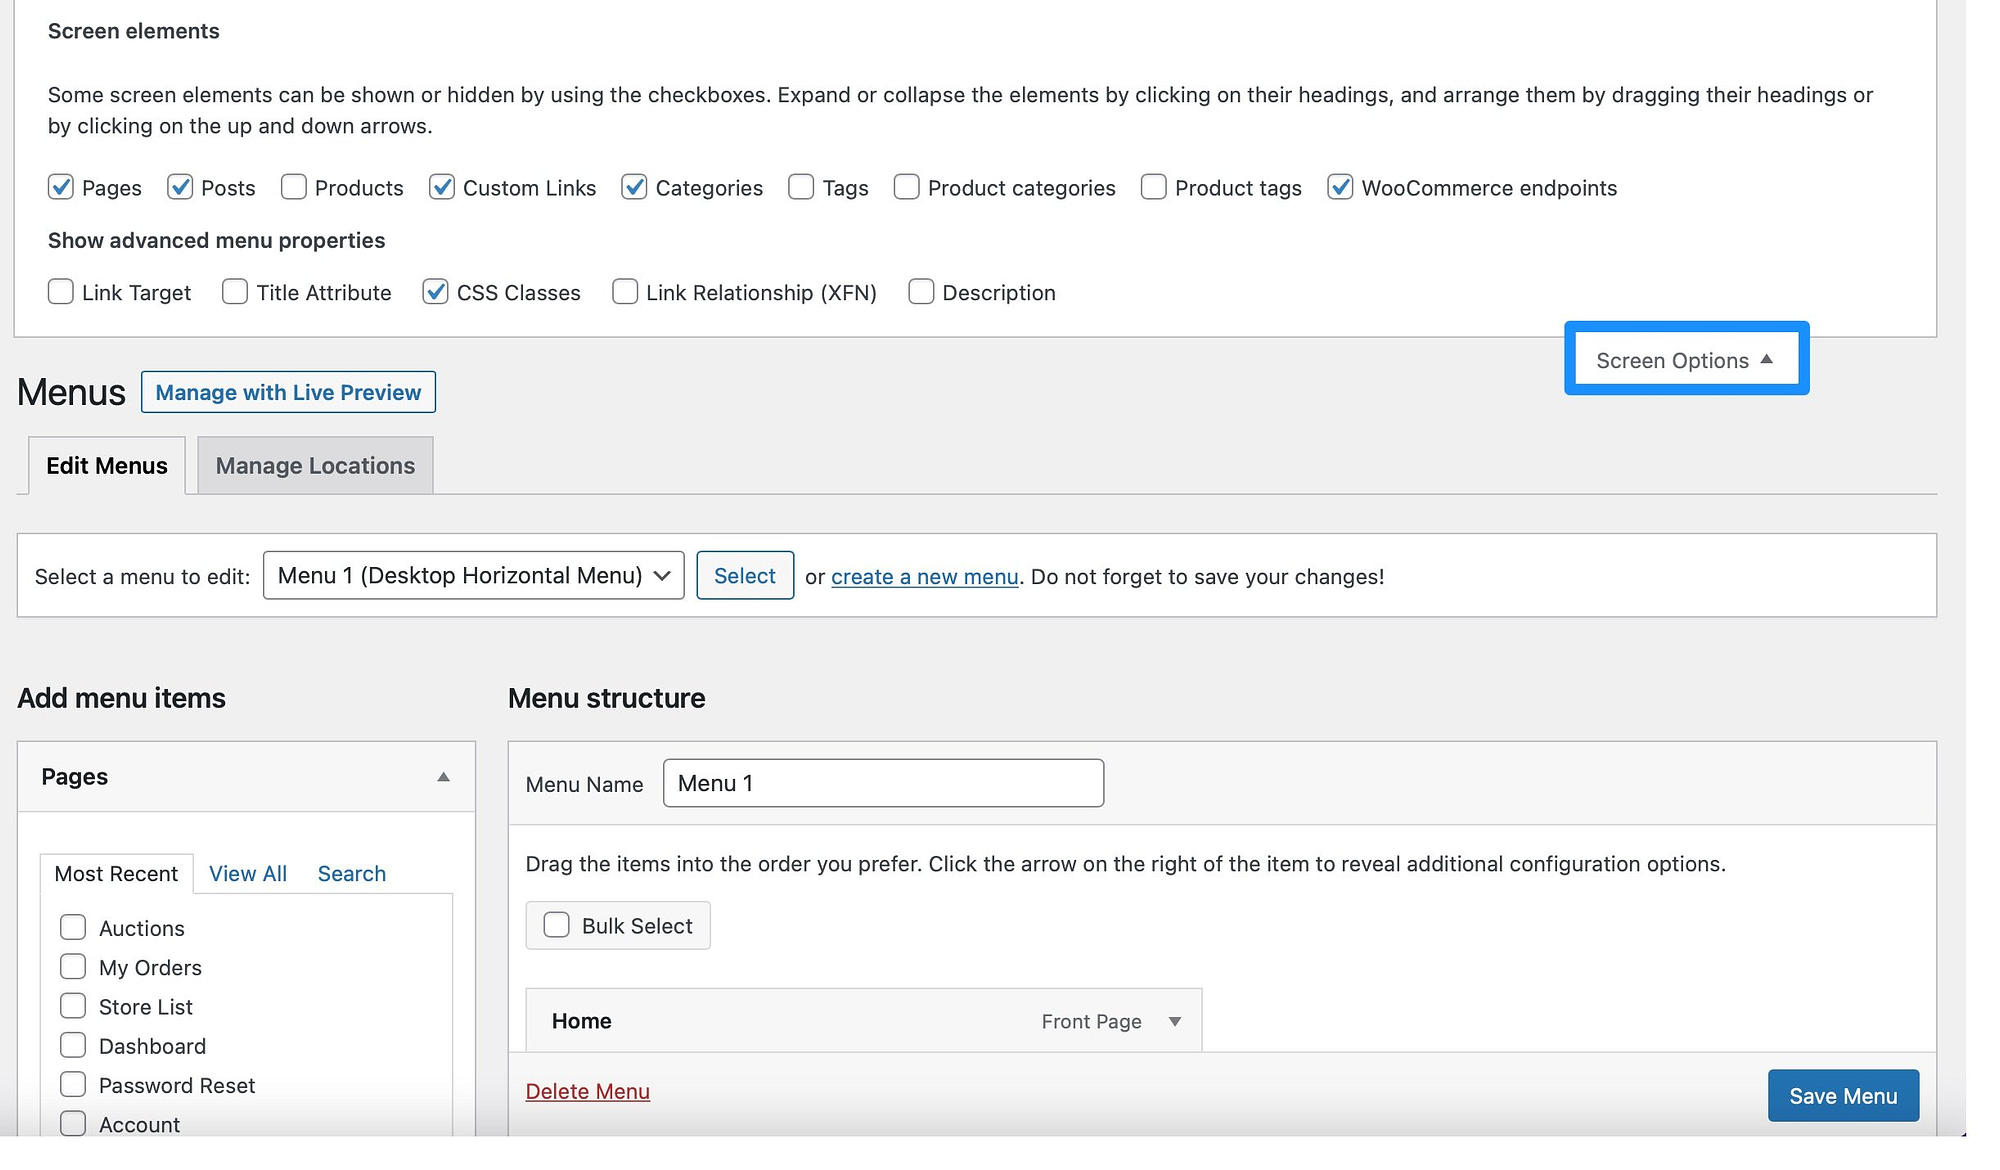
To expand the content types available for your menu, click on Screen Options:
Utilize the selection boxes to integrate supplementary content such as products and tags or to exclude existing components.
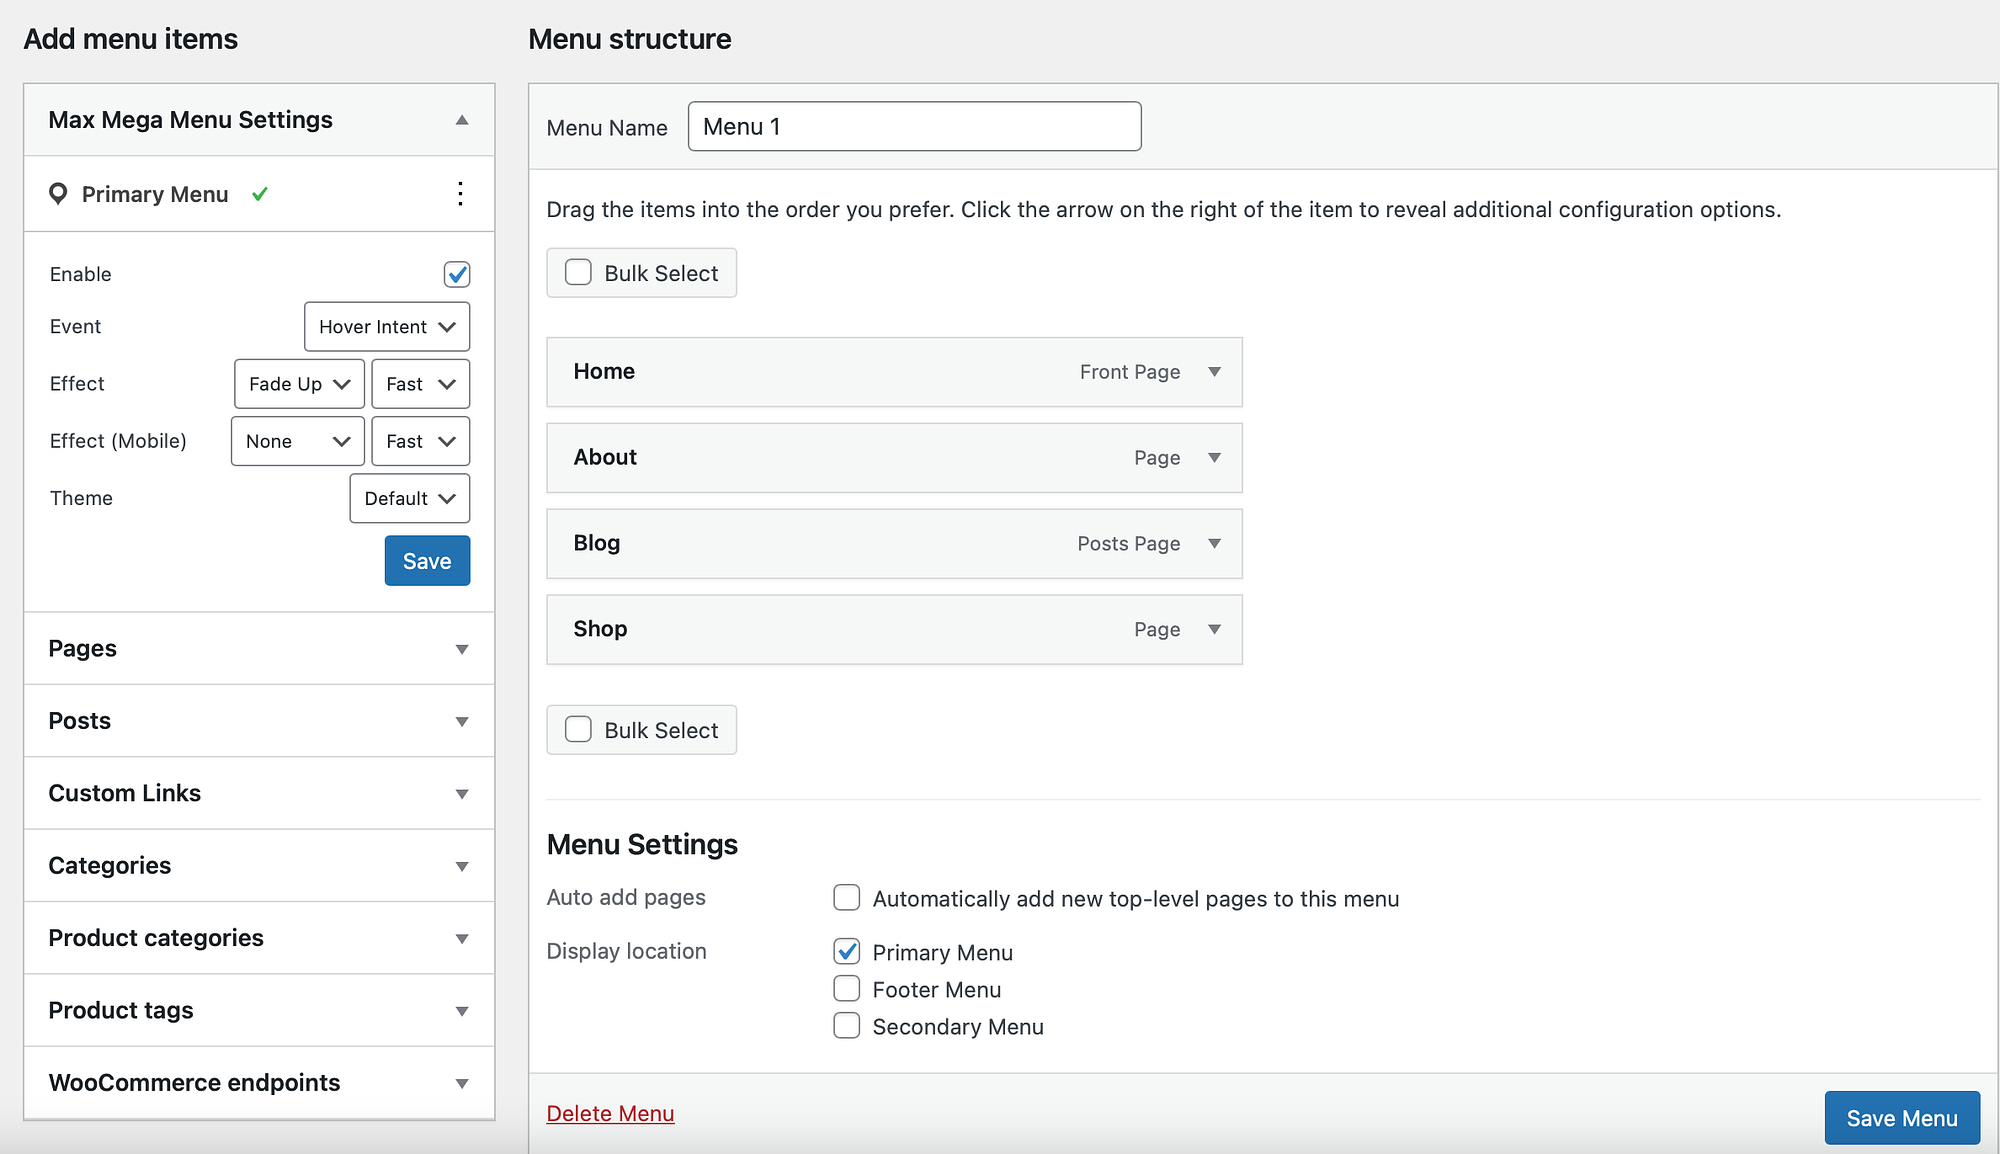
Finally, establish your menu’s precise locale via the Menu Settings found at the bottom of the screen:
Your theme might accommodate different formats like horizontal, mobile, or footer menus. Once content with your modifications, remember to hit Save Menu.
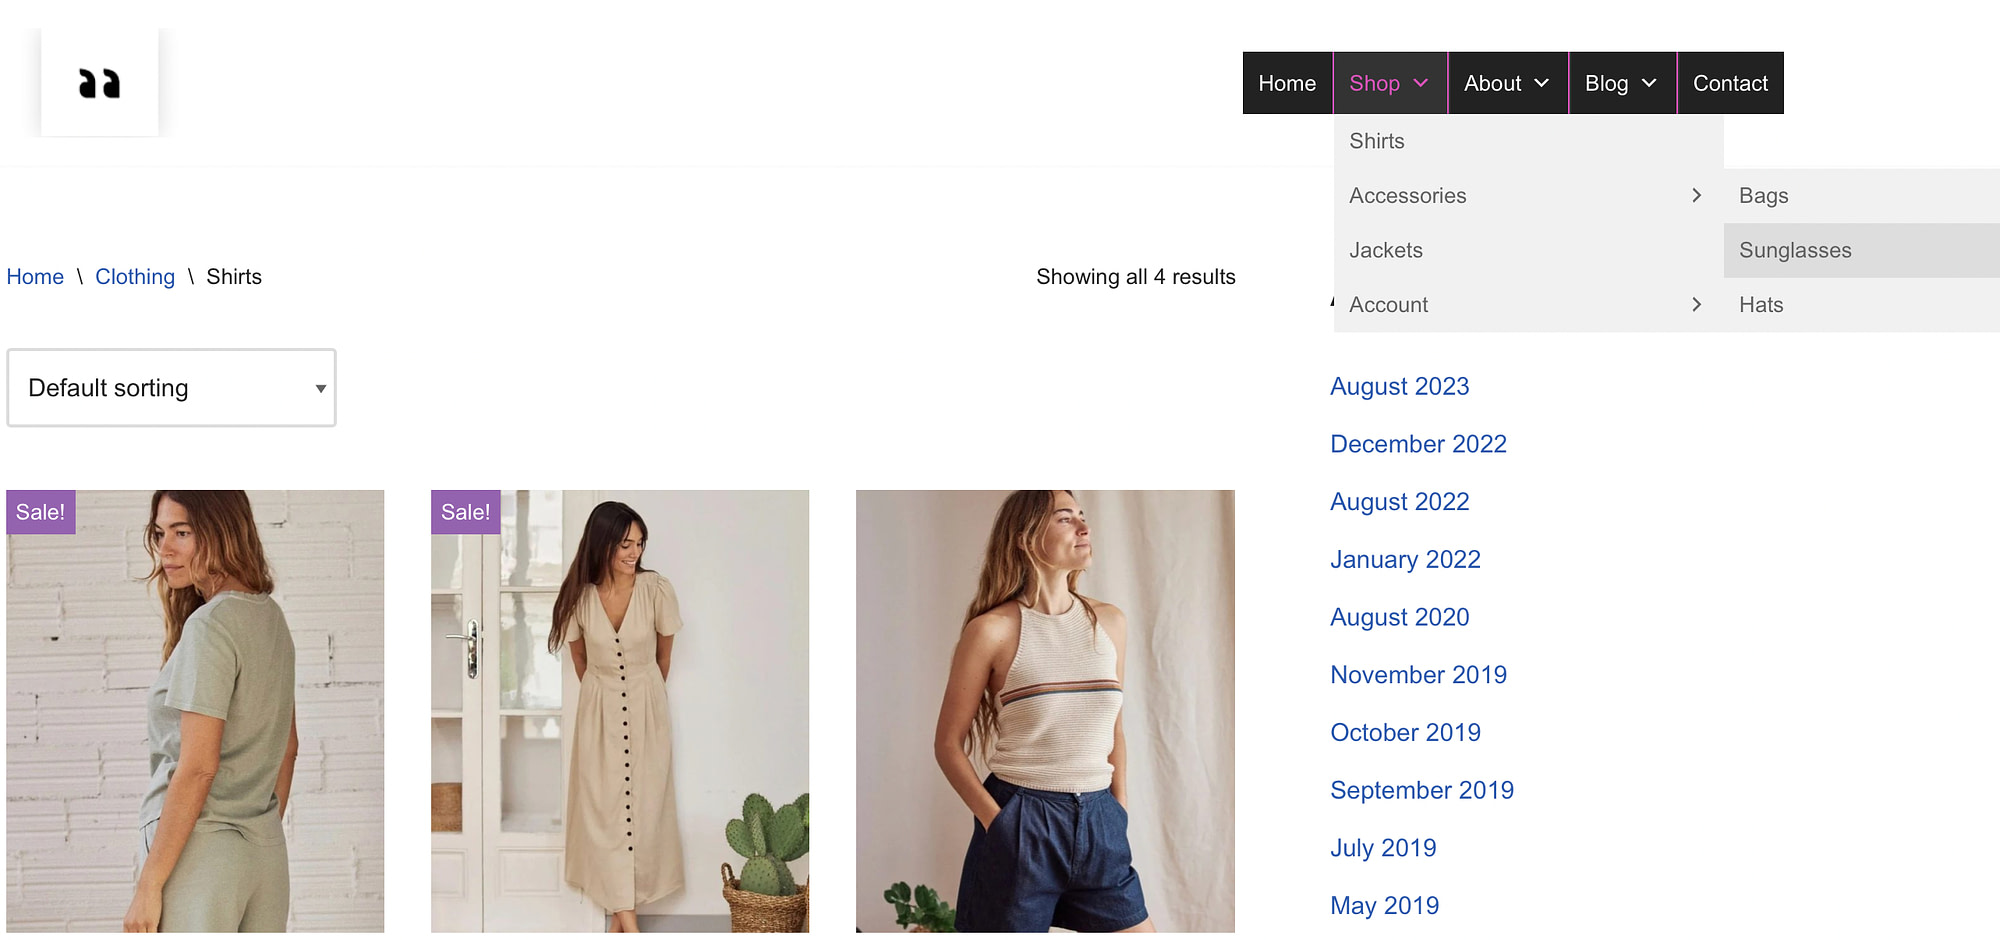
If constructing intricate menus such as mega menus is on your agenda, the default functionalities may fall short. Under such circumstances, a plugin is your go-to solution. It facilitates the creation of multi-column dropdowns which are incredibly effective for showcasing numerous pages within ecommerce stores. An excellent plugin offering this service at no cost is Max Mega Menu:
Post-installation, proceed to Mega Menu > Menu Locations:
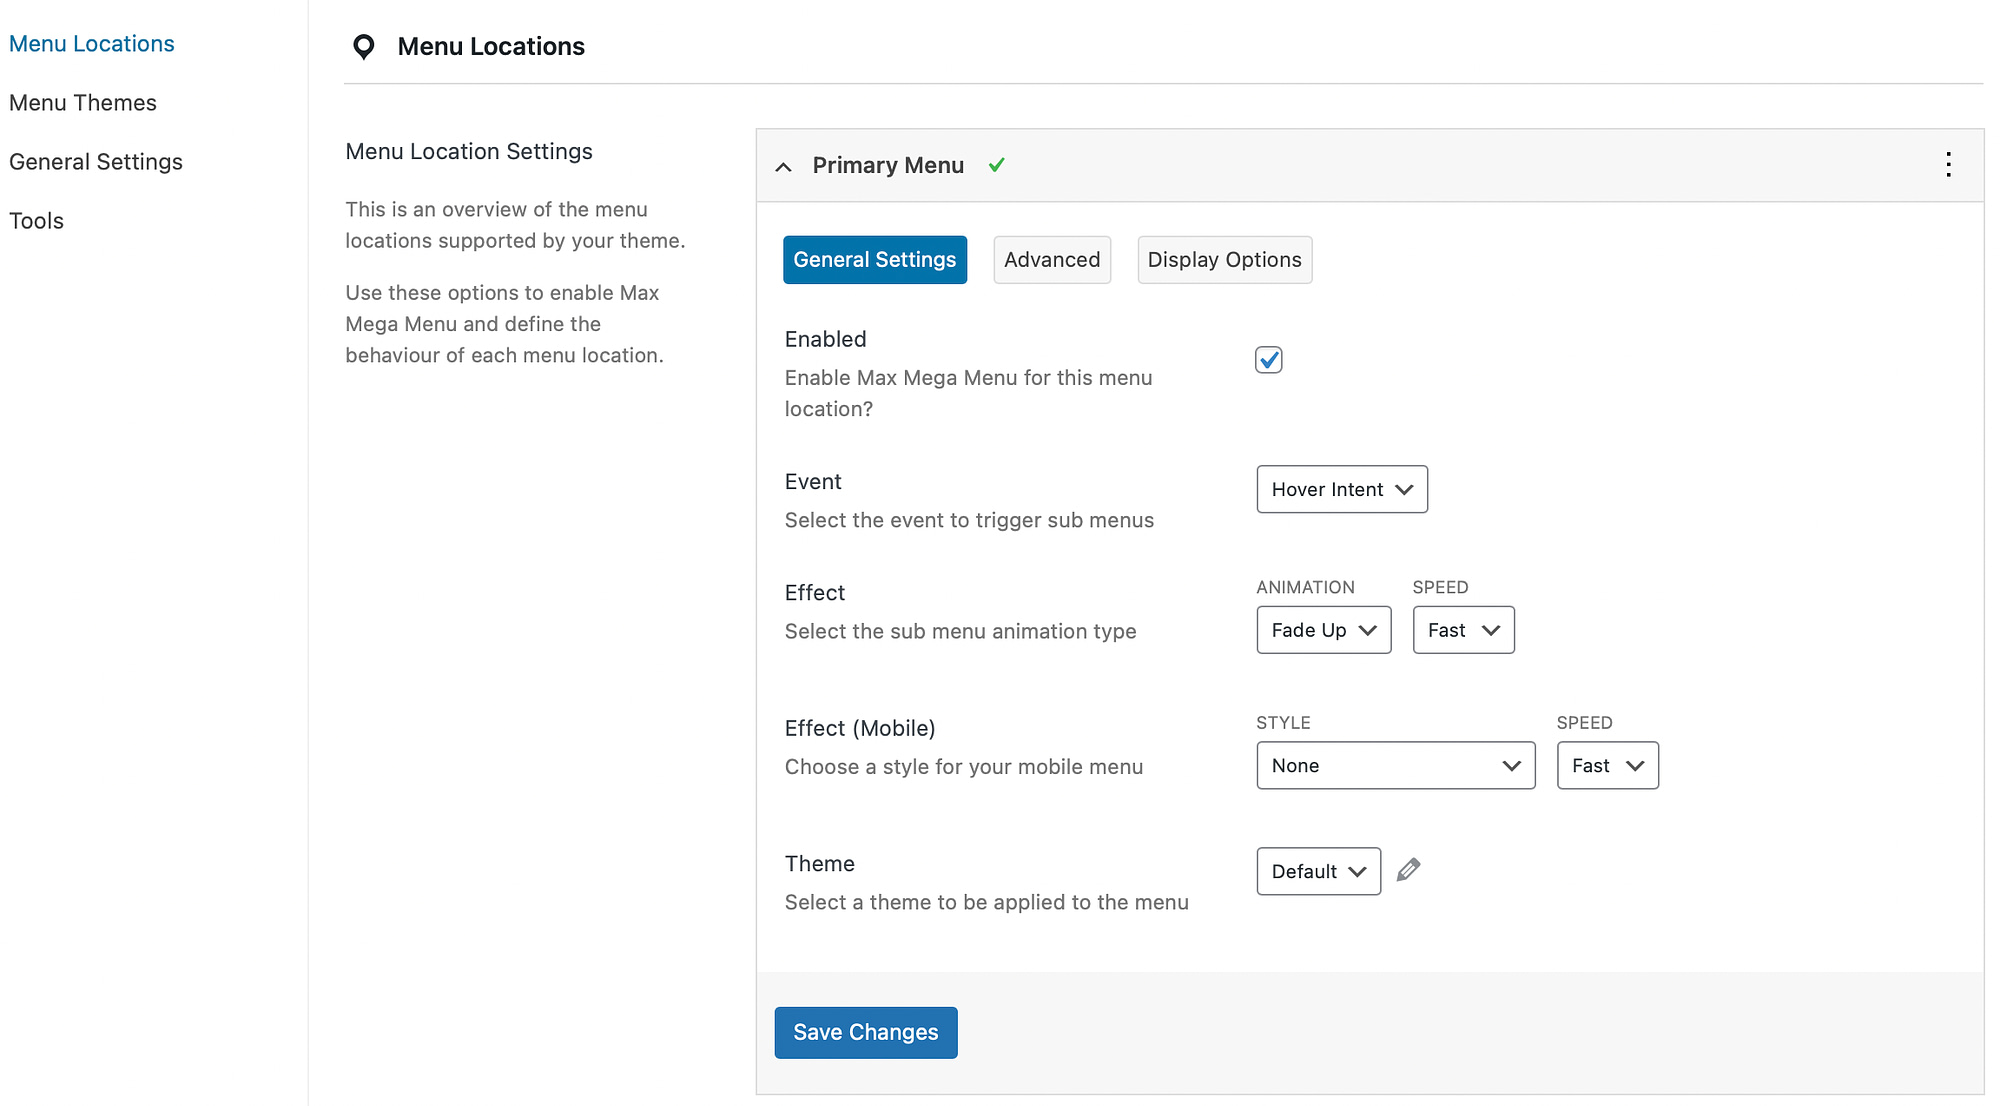
The screen displays potential mega menu placements as per your theme. To activate a mega menu, choose a location and mark the Enabled checkbox:
Within Event, you can specify the menu’s activation method. Additionally, the Effect settings allow you to alter the manner in which the menu unveils itself.
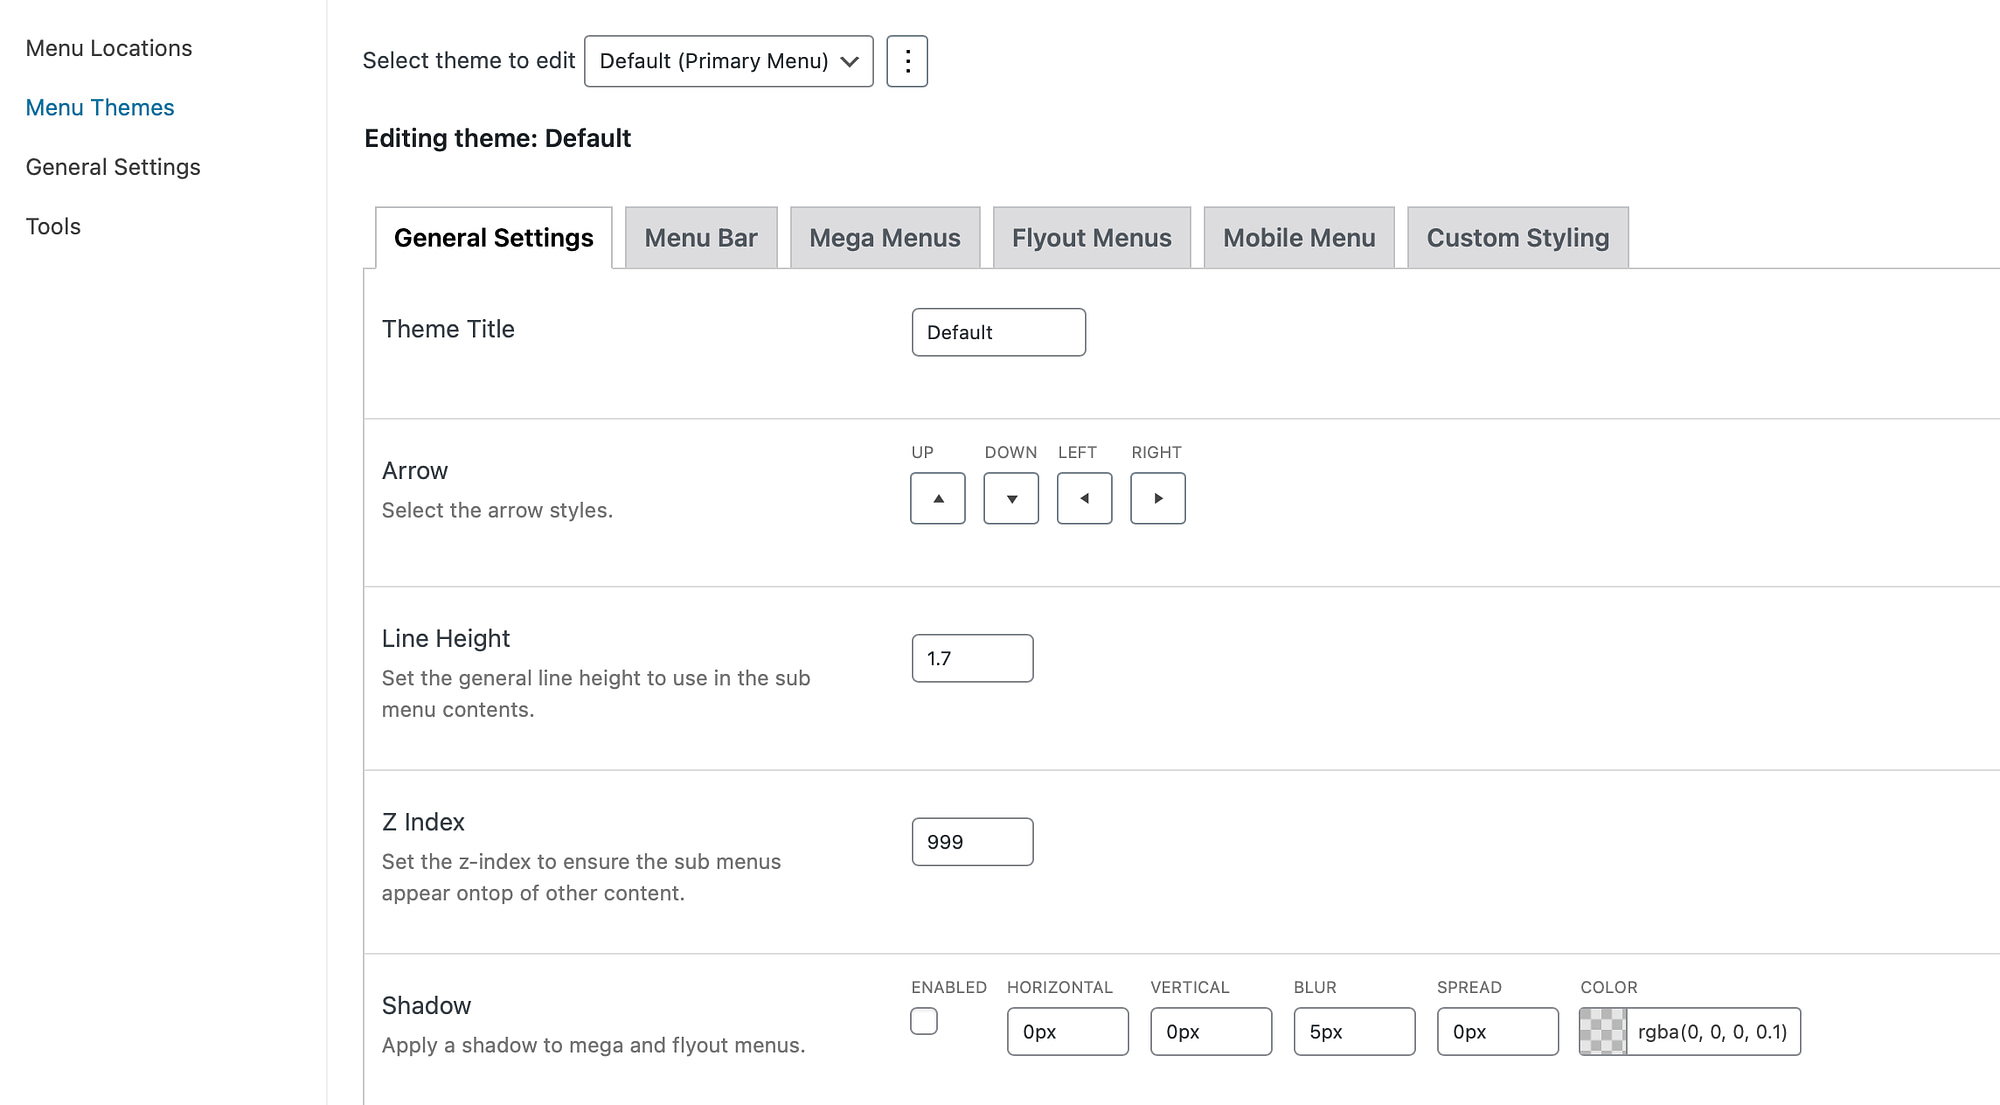
Transitioning to the Menu Themes tab, you have the liberty to modify the presentation of your menu. Starting with the arrow style and line height adjustments:
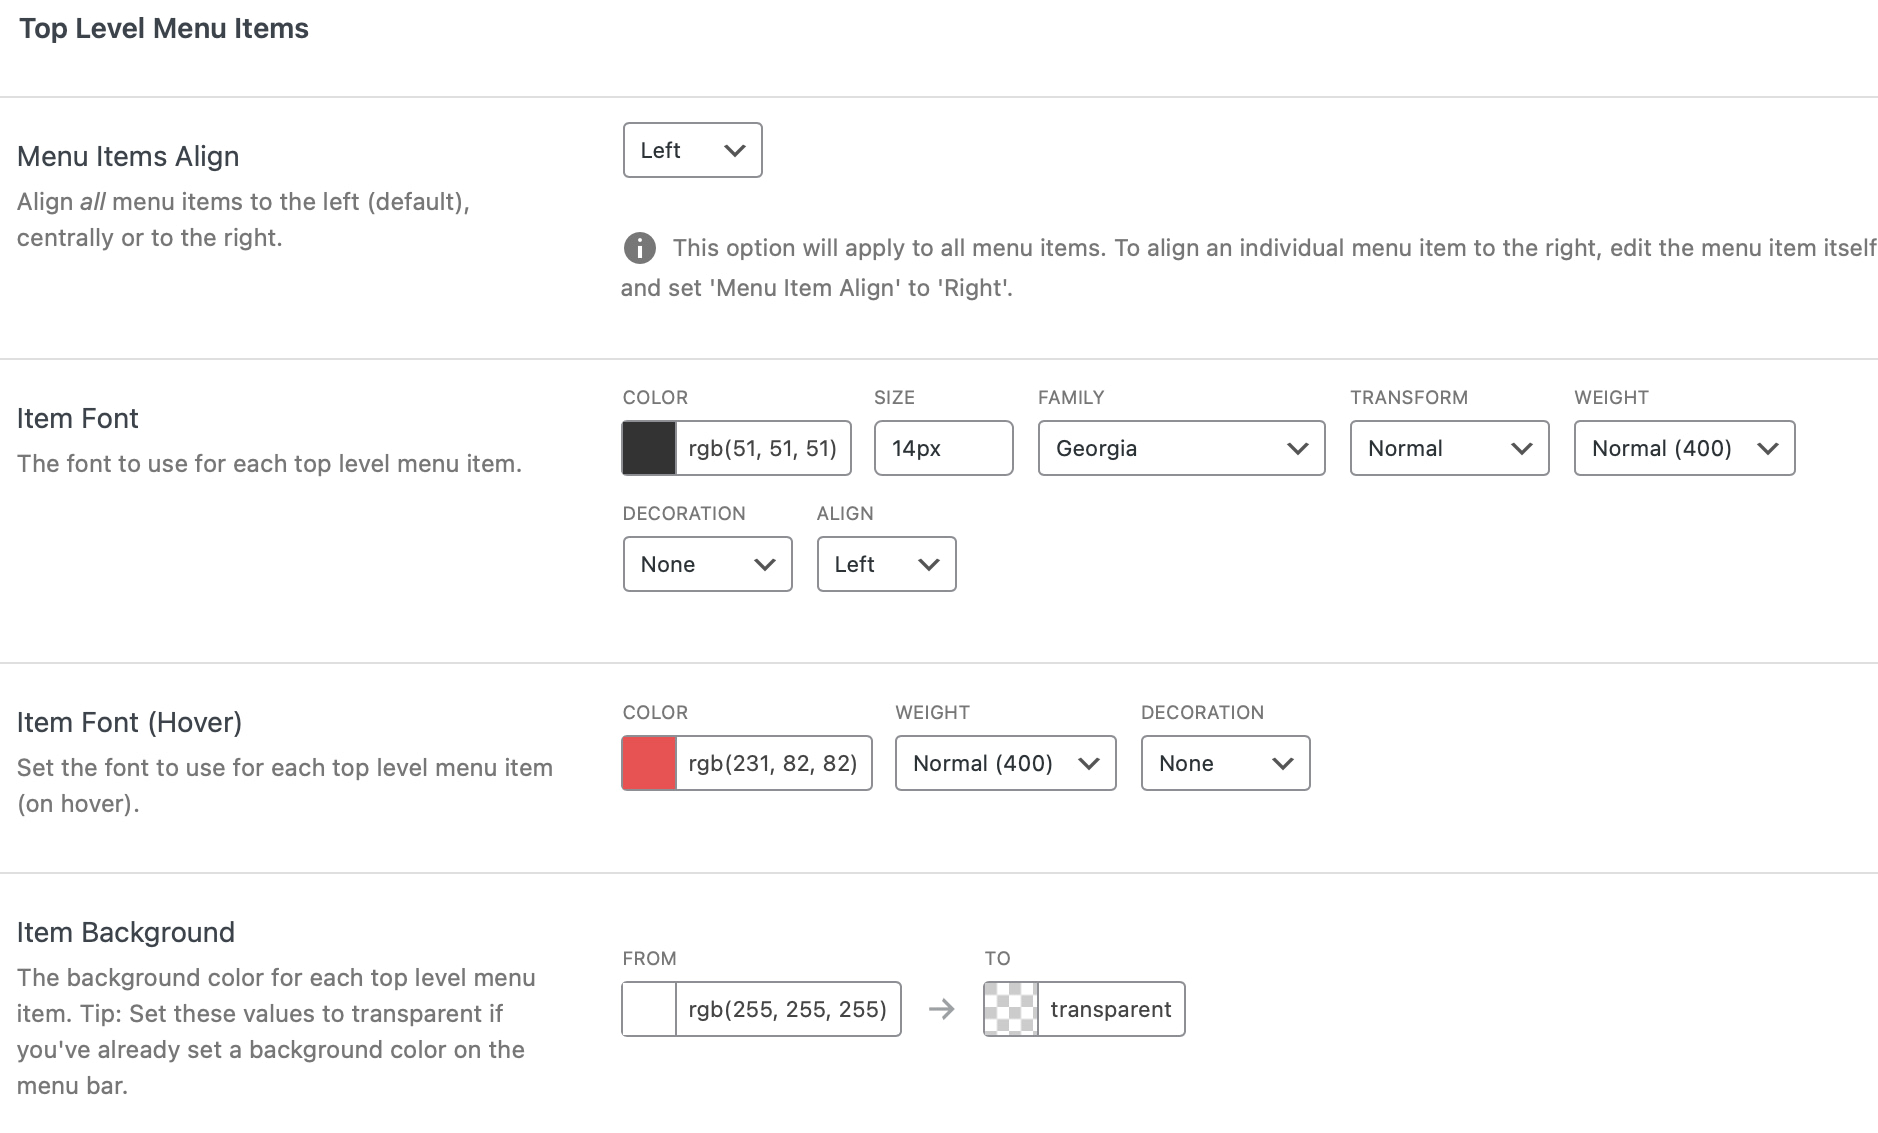
In the Menu Bar section, adjust menu height and choose a background shade. Further alterations to top-level menu items, like fonts, color schemes, spacing, and borders, are also at your disposal:
Submenus receive similar treatment in the Mega Menus segment, and if any widgets, such as search bars or galleries, are part of your mega menu, their look can be fine-tuned in the Widgets area.
With alterations saved, the final step is anchoring your newly crafted mega menu to an existing or freshly created menu within your site. Direct your steps to Appearance > Menus.
Choose the relevant menu, and you’ll spot the Max Mega Menu Settings housed within the Add menu items area:
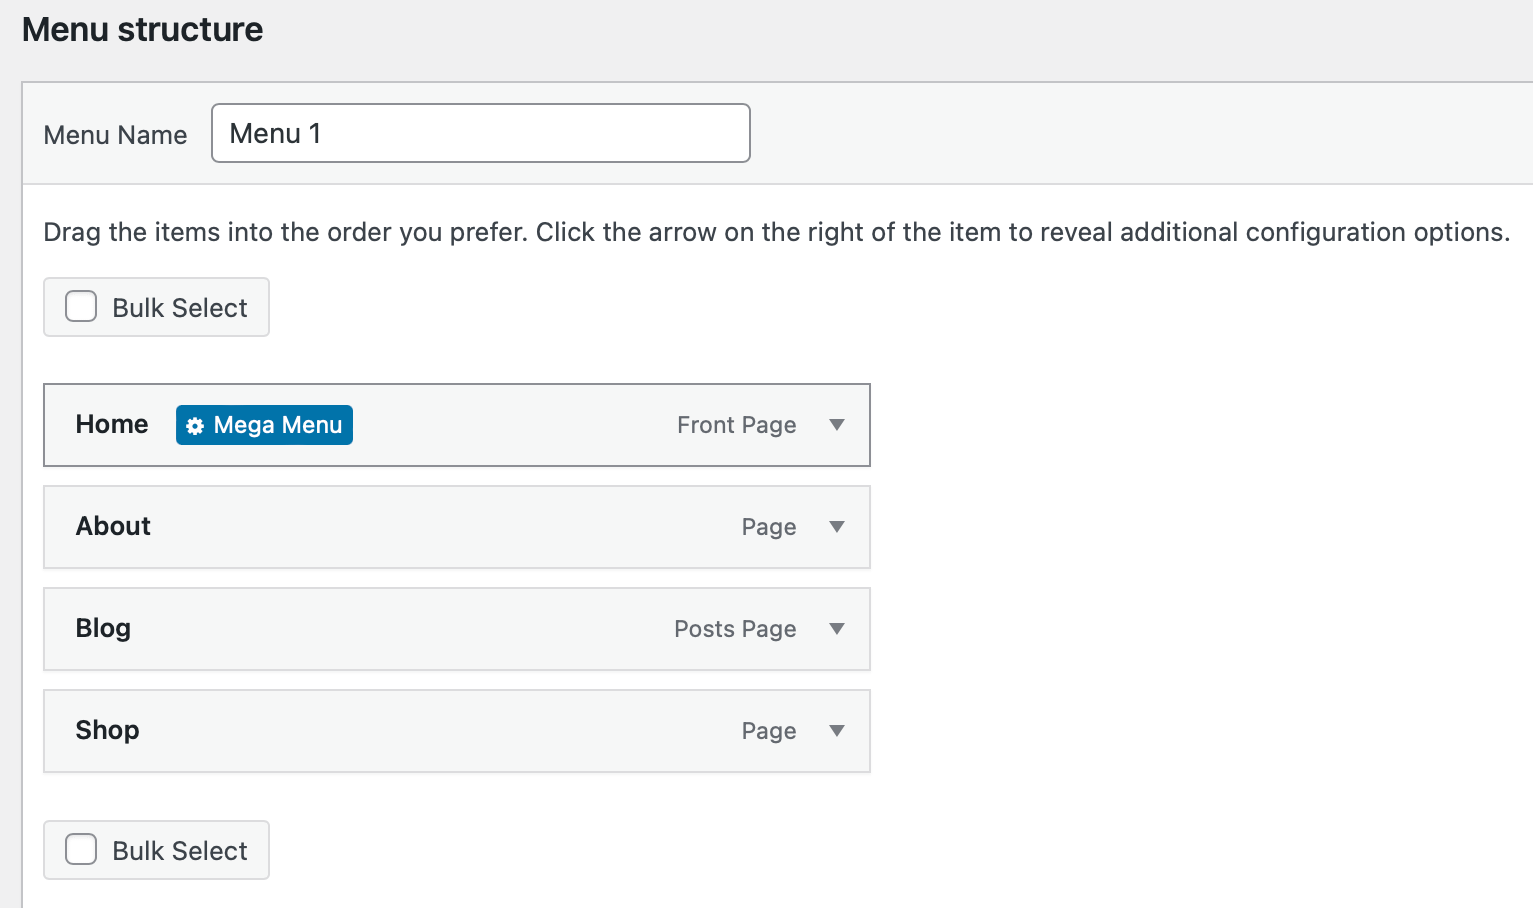
Activation of the plugin in the Menu Locations page is a prerequisite. Each menu item should display a Mega Menu button upon hovering:
Clicking this button affords individual display settings configuration for that specific menu component. Post-adjustment, ensure to store the changes, then inspect your menu’s appearance on the site’s face:
If further fine-tuning is required, retrace your steps to the Mega Menu section.
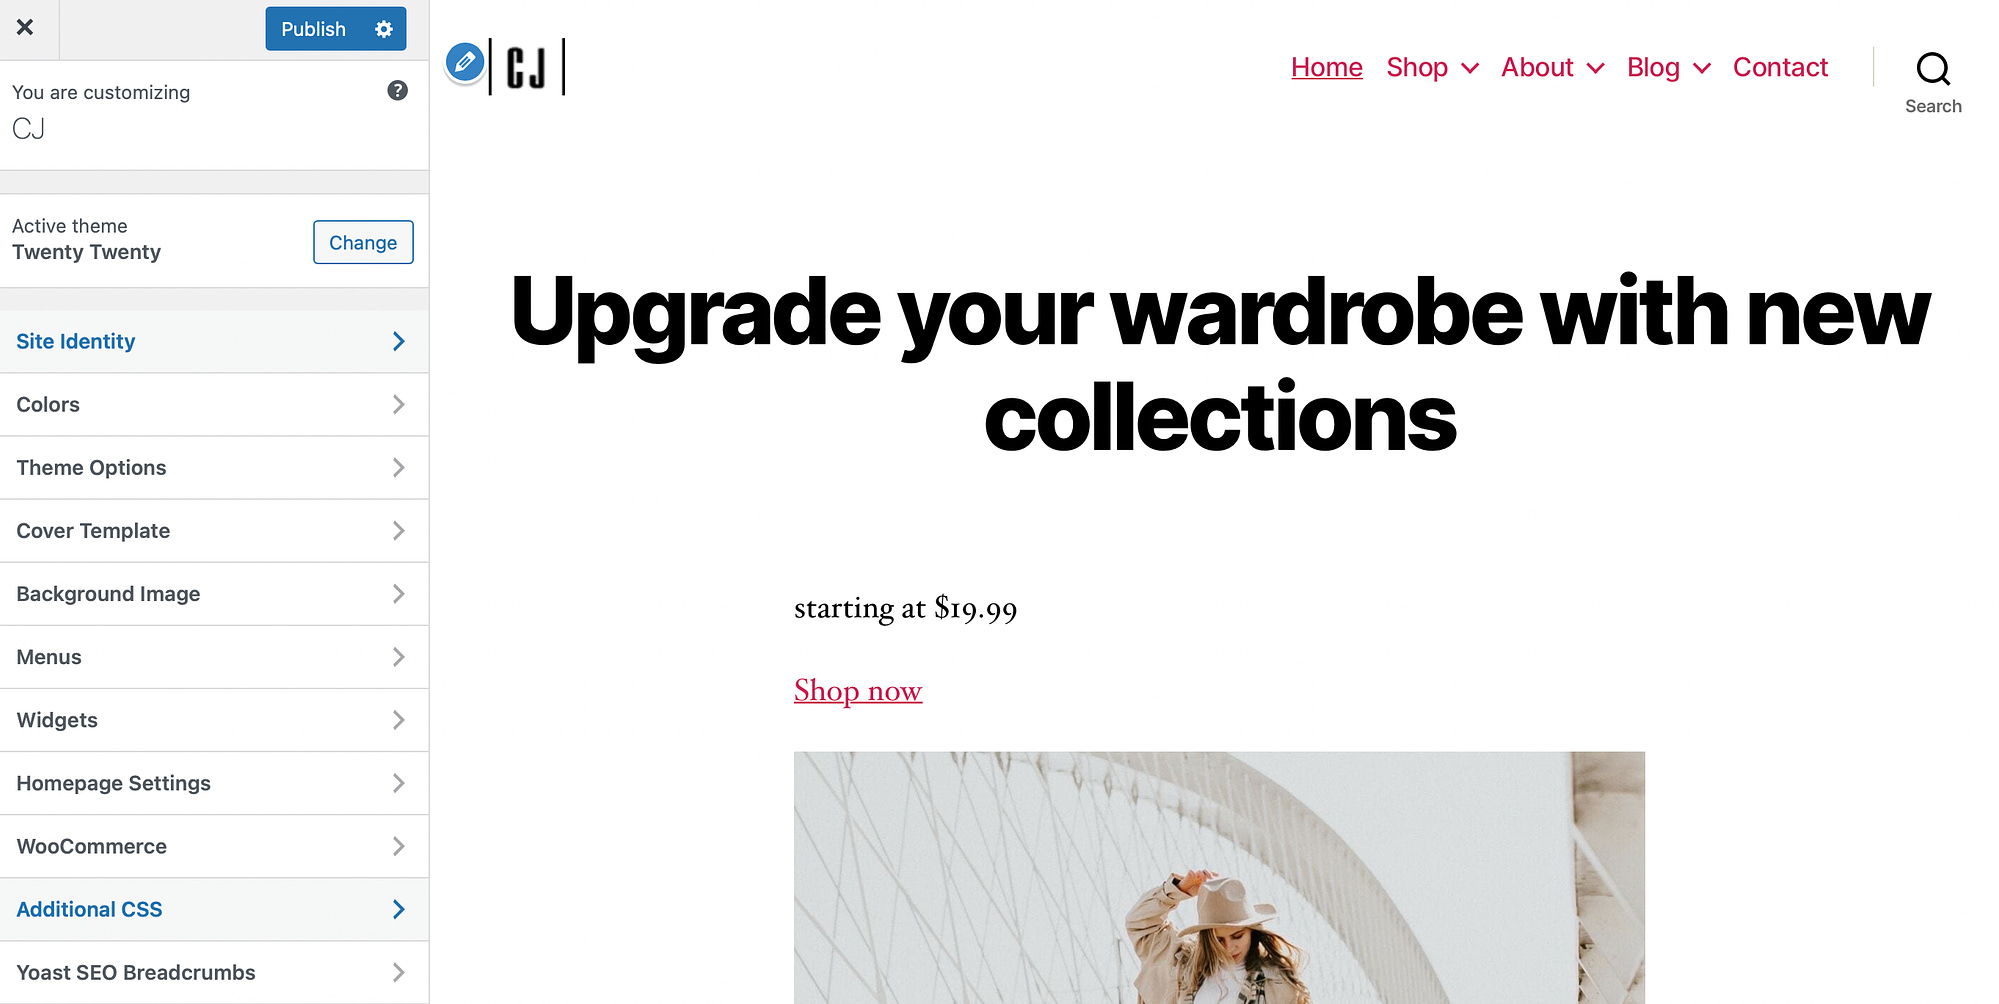
For adept users, CSS offers a method to edit your WordPress menu. Instead of meddling with site files, benefit from the much safer and user-friendly Additional CSS feature within the WordPress Customizer.
This tool is commonly found at the base of the Customizer tabs:
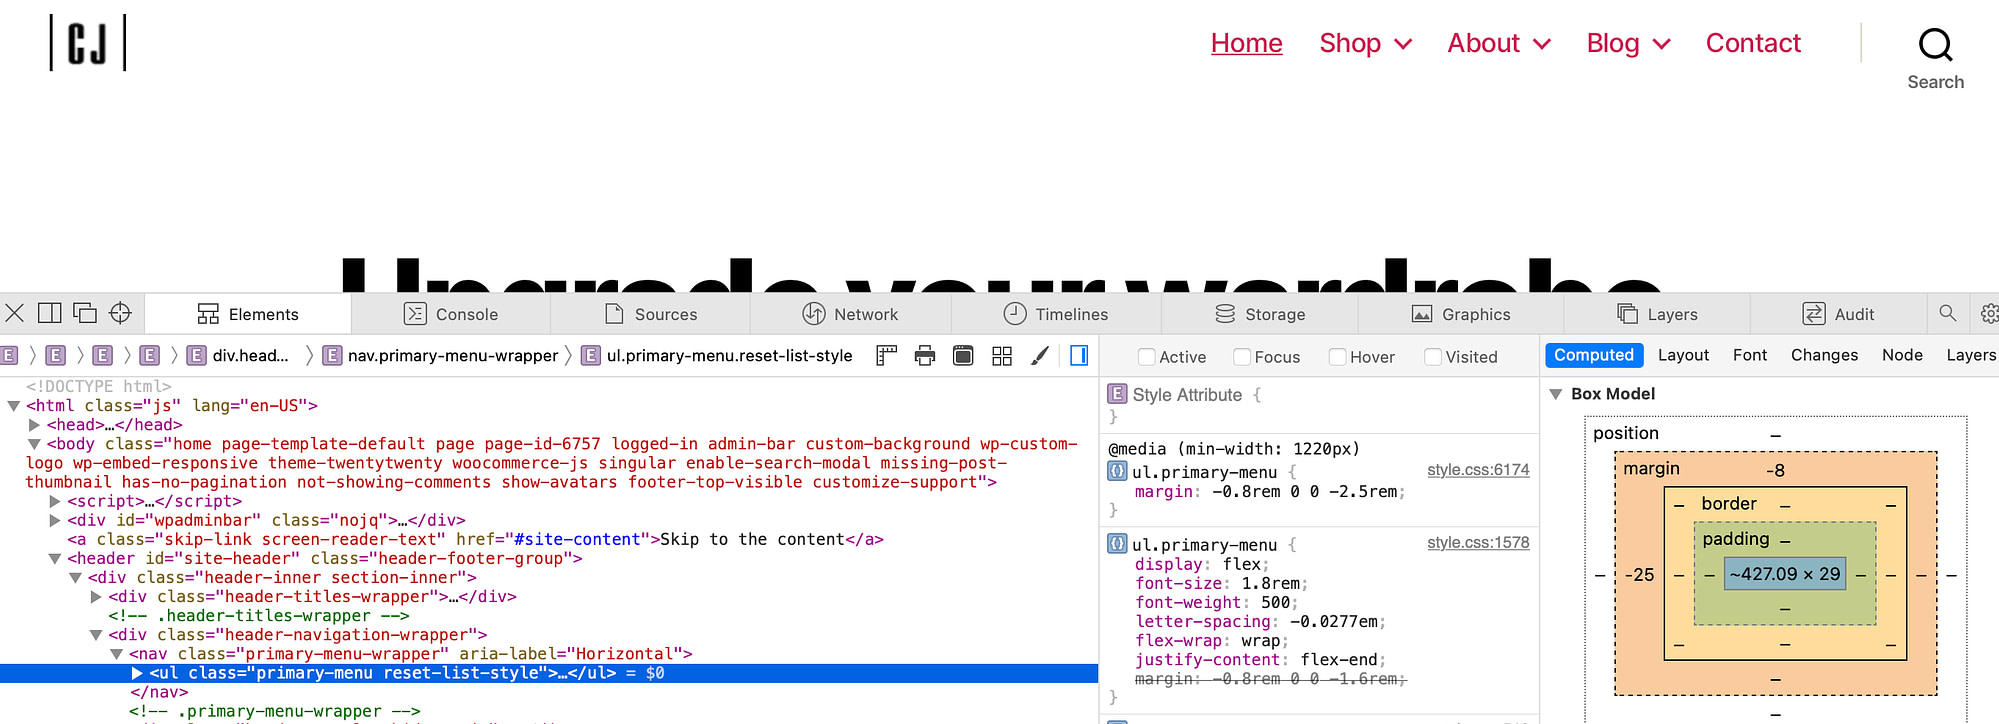
Prior to that, pinpoint your theme’s menu class identifier by right-clicking on your menu and choosing Inspect Element. For example, the Twenty Twenty theme uses “.primary-menu” as its menu class.
Now, revert to the Customizer and enter the Additional CSS setting.
To enhance menu font size, apply this snippet: .primary-menu { font-size: 30px; } and ensure to substitute .primary-menu with the correct class for your theme. If this doesn’t take effect, add the !important flag to override existing styles:
Furthermore, the background color of your menu can be modified with: .primary-menu { background-color: #add8e6; } Modify the hex value to match your visual requirements:
Additionally, applying dynamic effects such as hover functionality can be accomplished with this code: .primary-menu li.menu-item a:hover { color: #040273; } This changes the font to indigo when a user hovers over a menu link.
Other CSS capabilities enable you to manipulate elements like opacity,


